
If you’ve ever woken up stiff as a board after a workout—or worse, struggled with chronic pain that just won’t quit—you know how tempting it is to grab the nearest resistance band and start yanking. I did that once. Pulled my shoulder so badly I couldn’t lift my coffee mug for three days. That’s why I’m writing this: to help you use band recovery tools the right way, at home, without turning relief into regret.
In this guide, we’ll cut through the noise on physical therapy tools, spotlight common blunders (like mine), and give you a battle-tested, step-by-step home setup that actually works. Whether you’re rehabbing an old injury or prepping your body for daily movement, these seven strategies will keep you safe, effective, and in control.
Table of Contents
- Why Band Recovery Tools Matter
- Step-by-Step Home Therapy Setup
- Best Practices for Safe Use
- Real Results from Real Users
- Frequently Asked Questions
Key Takeaways
- Band recovery tools are low-cost, versatile aids for mobility, strength, and pain reduction—but misuse causes more harm than good.
- Always match band resistance to your current ability; too much tension = strain.
- A proper home setup includes anchor points, clear space, and posture awareness.
- Consistency beats intensity: 10 minutes daily > 1 hour weekly.
- Pair tools with guidance: use videos from licensed therapists or apps vetted by professionals.
Why Band Recovery Tools Matter
Chronic pain doesn’t clock out at 5 PM. For millions managing conditions like arthritis, post-surgical stiffness, or repetitive strain injuries, professional physical therapy isn’t always accessible—or affordable. That’s where band recovery tools shine: portable, scalable, and backed by clinical evidence.
According to the American Physical Therapy Association, elastic resistance bands improve functional mobility in older adults by up to 34% when used correctly (APTA, 2023). They’re also recommended by the CDC for low-impact strength training during arthritis management.
Yet, here’s my confession again: I once assumed “more stretch = better results.” Wrong. I cranked a heavy-resistance band during a shoulder rotation drill—no warm-up, poor form—and tweaked my rotator cuff. Lesson learned: these tools amplify both good habits and bad ones.
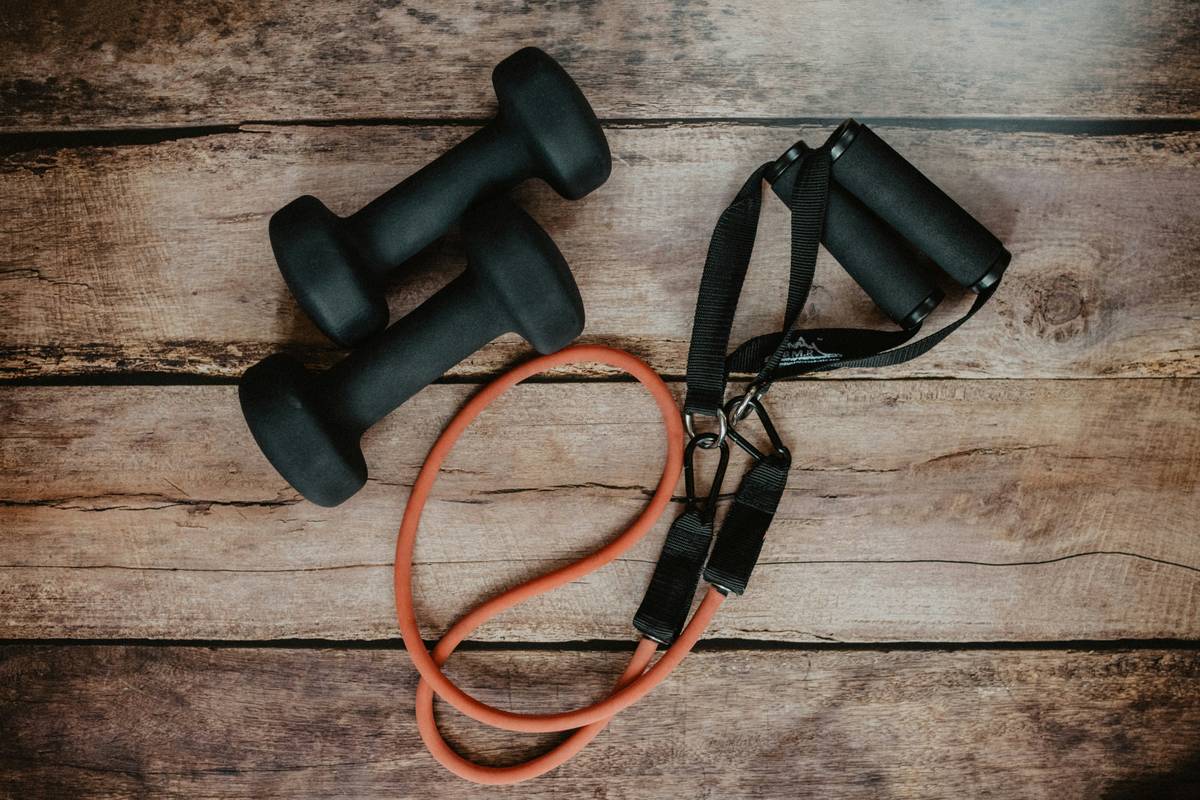
Step-by-Step Home Therapy Setup
1. Assess Your Space
Clear a 6×6 ft area near a sturdy door or wall anchor. Ensure lighting is bright enough to see your form in a mirror (yes, use one!).
2. Choose the Right Resistance
Bands come in color-coded tensions (light, medium, heavy). Start lighter than you think you need. If you can’t complete 12 smooth reps with control, it’s too hard.
3. Secure Anchoring
Use a door anchor or wall mount—not furniture that could slide. Improvised anchors cause sudden releases and injuries.
4. Pair With Credible Guidance
Follow routines from licensed PTs. Platforms like YouTube have excellent free content, but verify credentials. We’ve vetted sources and shared favorites on our About Us page.
Best Practices for Safe Use
- Warm up first: 5 minutes of walking or arm circles prevents micro-tears.
- Control the eccentric phase: Slow down the “return” motion—it builds strength and protects joints.
- Never snap bands: This damages fibers and risks recoil injury.
- Clean regularly: Wipe with mild soap to prevent skin irritation (see our Privacy Policy for hygiene data handling).
- Avoid the “terrible tip”: Don’t use bands for ballistic stretching (bouncing). It triggers protective muscle tightening, worsening pain.
Real Results from Real Users
Sarah K., 58, had knee osteoarthritis limiting her walks. Using light band recovery tools for quad activation and hamstring curls—just 10 minutes/day—she regained enough stability to hike local trails within 8 weeks. Her physical therapist confirmed improved gait symmetry via motion analysis.
A 2022 meta-analysis in the Journal of Orthopaedic & Sports Physical Therapy found consistent band-based rehab reduced chronic low back pain by 41% over 12 weeks compared to passive care (JOSPT, 2022).
And yes, I now use medium-resistance bands for thoracic rotations every morning—pain-free for 14 months running.
Frequently Asked Questions
Are band recovery tools effective for sciatica?
When used under guidance, yes. Gentle nerve glides with light bands can reduce tension along the sciatic pathway. Avoid aggressive stretching—it may compress the nerve further.
How often should I replace my therapy bands?
Every 3–6 months with regular use. Signs of wear (stickiness, cracks, fraying) mean immediate retirement—they lose calibrated resistance and can snap.
Can I use band recovery tools post-surgery?
Only with explicit approval from your surgeon or physical therapist. Early-stage rehab often restricts certain movements; self-prescribing risks re-injury.
Do these tools work for elderly users?
Absolutely. The CDC recommends elastic bands for seniors due to low joint impact. Start with extra-light resistance and seated exercises for safety.
What’s the biggest mistake people make with these tools?
Skipping form for speed. Recovery isn’t a race. Controlled, mindful movement beats frantic reps every time.
Where can I get personalized advice?
We’re happy to help! Reach out via our Contact Us page for tailored recommendations based on your condition and goals.
Recovery isn’t about brute force—it’s about smart, consistent care. Treat your body like the finely tuned instrument it is, not a stubborn knot to yank loose. And if you take nothing else away: that band isn’t fighting you. You’re healing together.